Appwrite Workshop
Gitpod Configuration (Backup Solution) 🛟

Welcome to the Gitpod Configuration section, your backup solution for your journey in the world of Appwrite. Sometimes, even the most experienced adventurers can encounter unexpected challenges. If you have already successfully set up Appwrite Cloud, you can continue without any worries by skipping this step! 🛠️
WARNING
🛟 If you have already successfully configured Appwrite Cloud, you can continue without any worries by skipping this step! 🚧
Step 1️⃣: Choose the Gitpod Provider 🤖
To start the Gitpod configuration process, you need to visit the self-hosting section of the documentation and click on the Gitpod installation link.
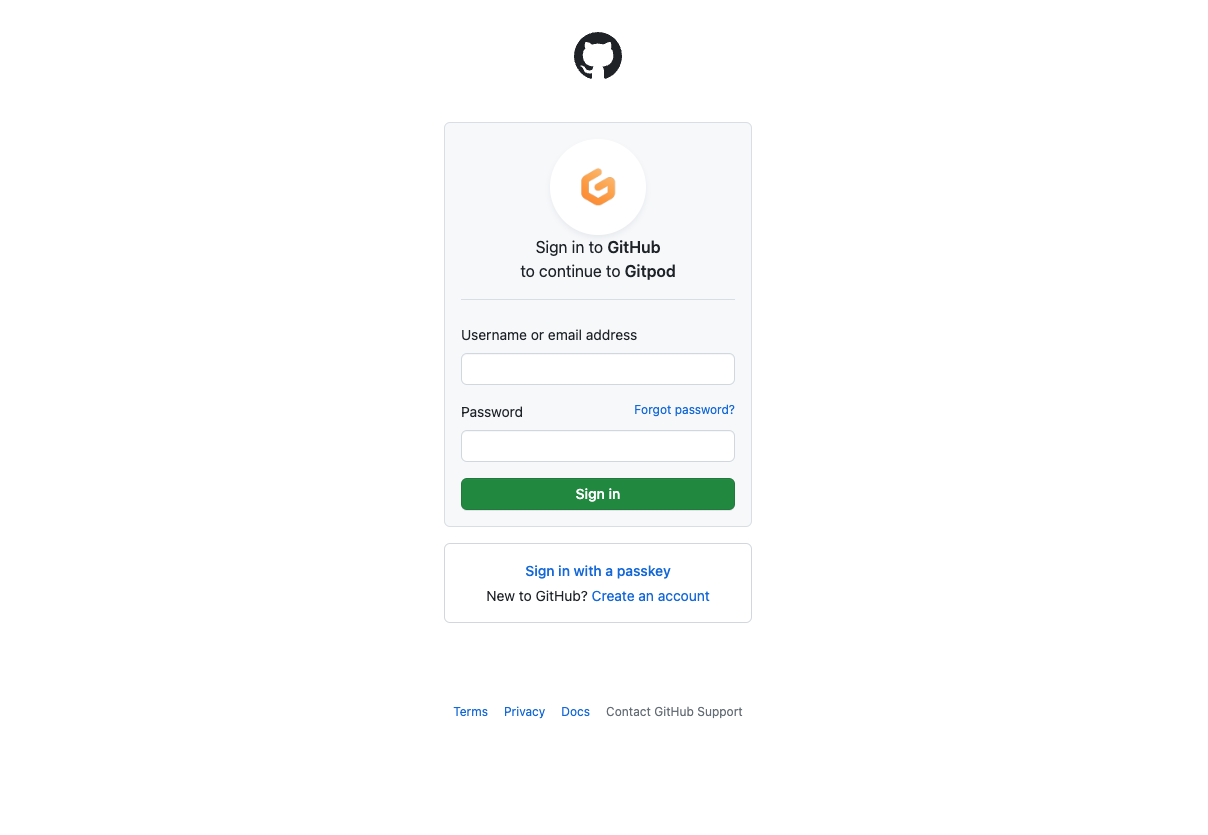
Step 2️⃣: Create a Gitpod Account 👤
If you don't already have one, start by creating a Gitpod account. You can use your GitHub account to log in.
INFO
Gitpod is a cloud-based development solution. You have a limited amount of free usage (50 hours per month) 🕒
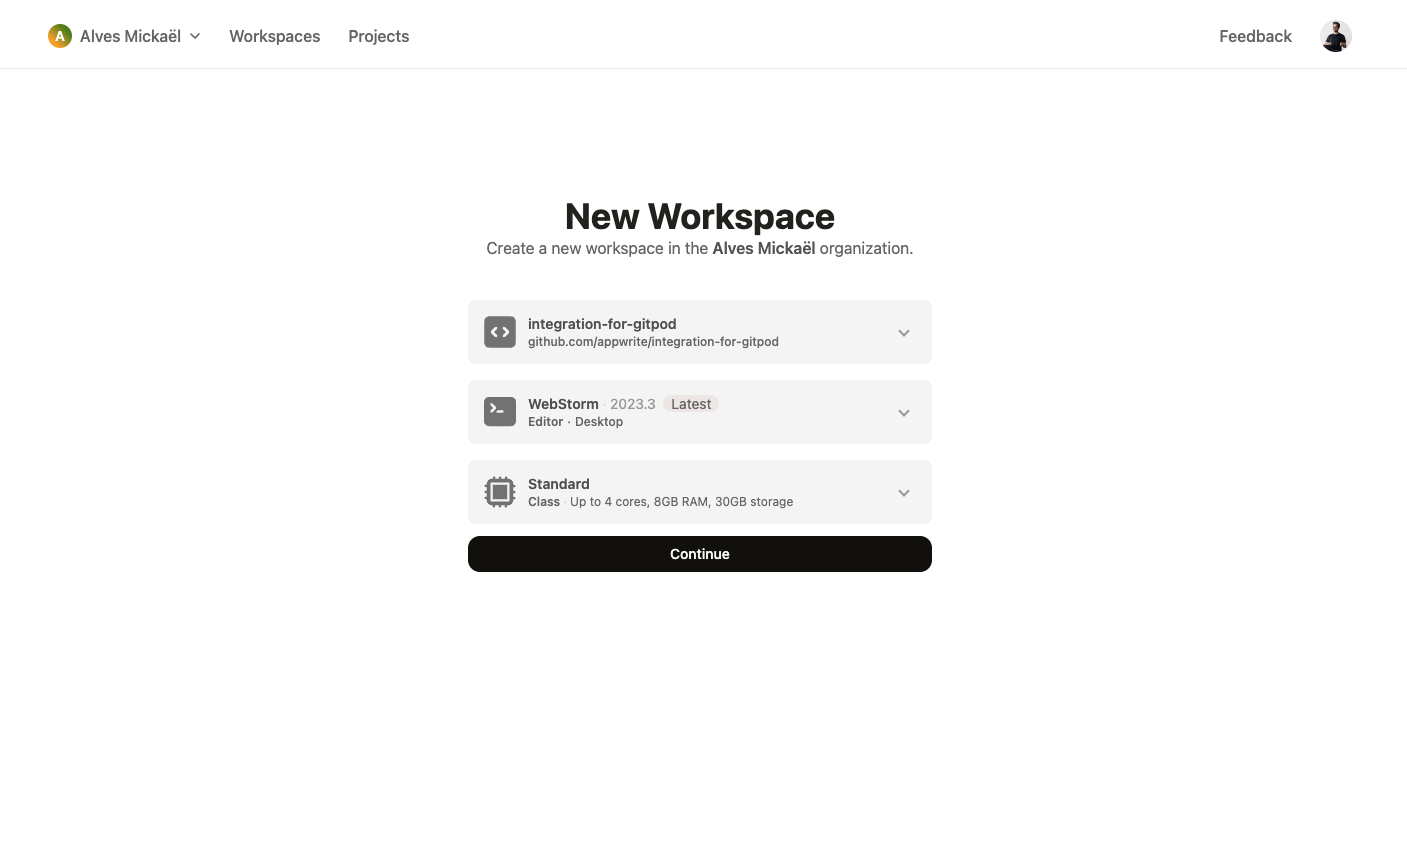
Step 2️⃣: Prepare Your Workspace 🚀
After creating your Gitpod account, you'll need to set up your workspace environment. With Appwrite, Gitpod provides you with a fully equipped workspace, ready to use. Normally, you should see an integration github.com/appwrite/integration-for-gitpod. You just need to select your preferred IDE and click the ' Continue' button.
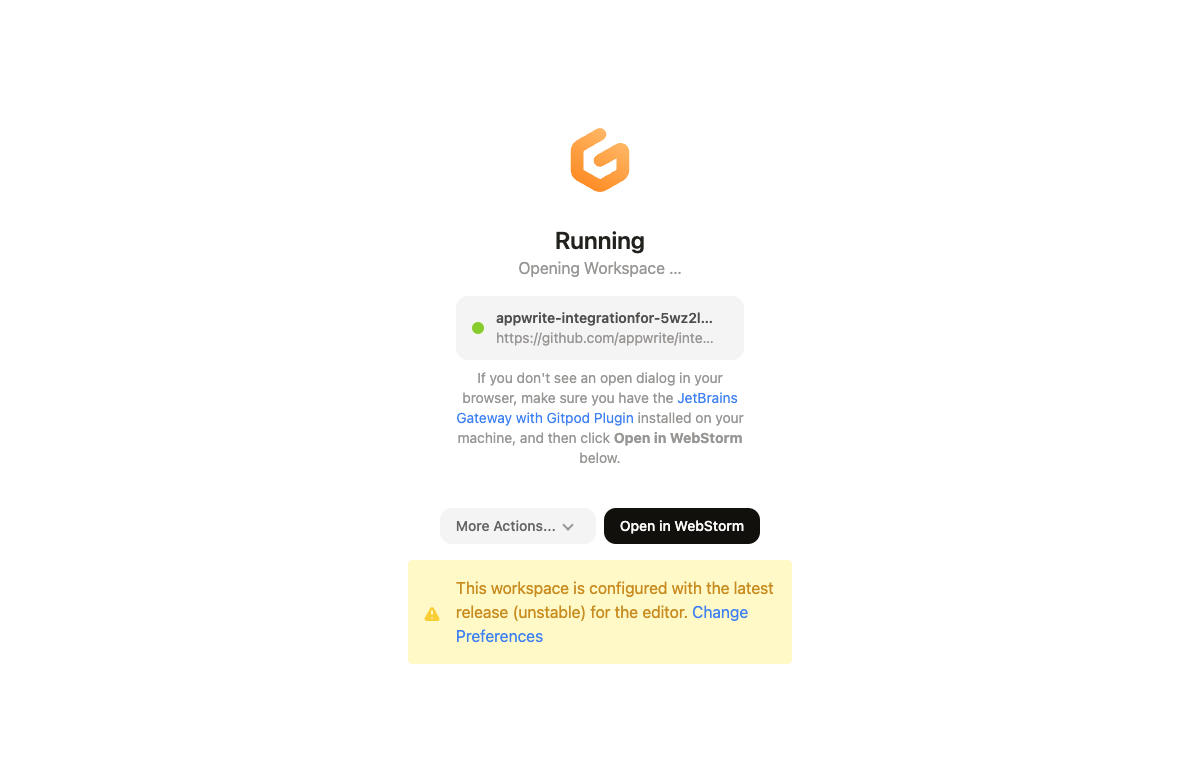
You should then see a loading window. Select 'Open Browser' to open your environment in your browser (ℹ️ Recommended), or in your preferred IDE.
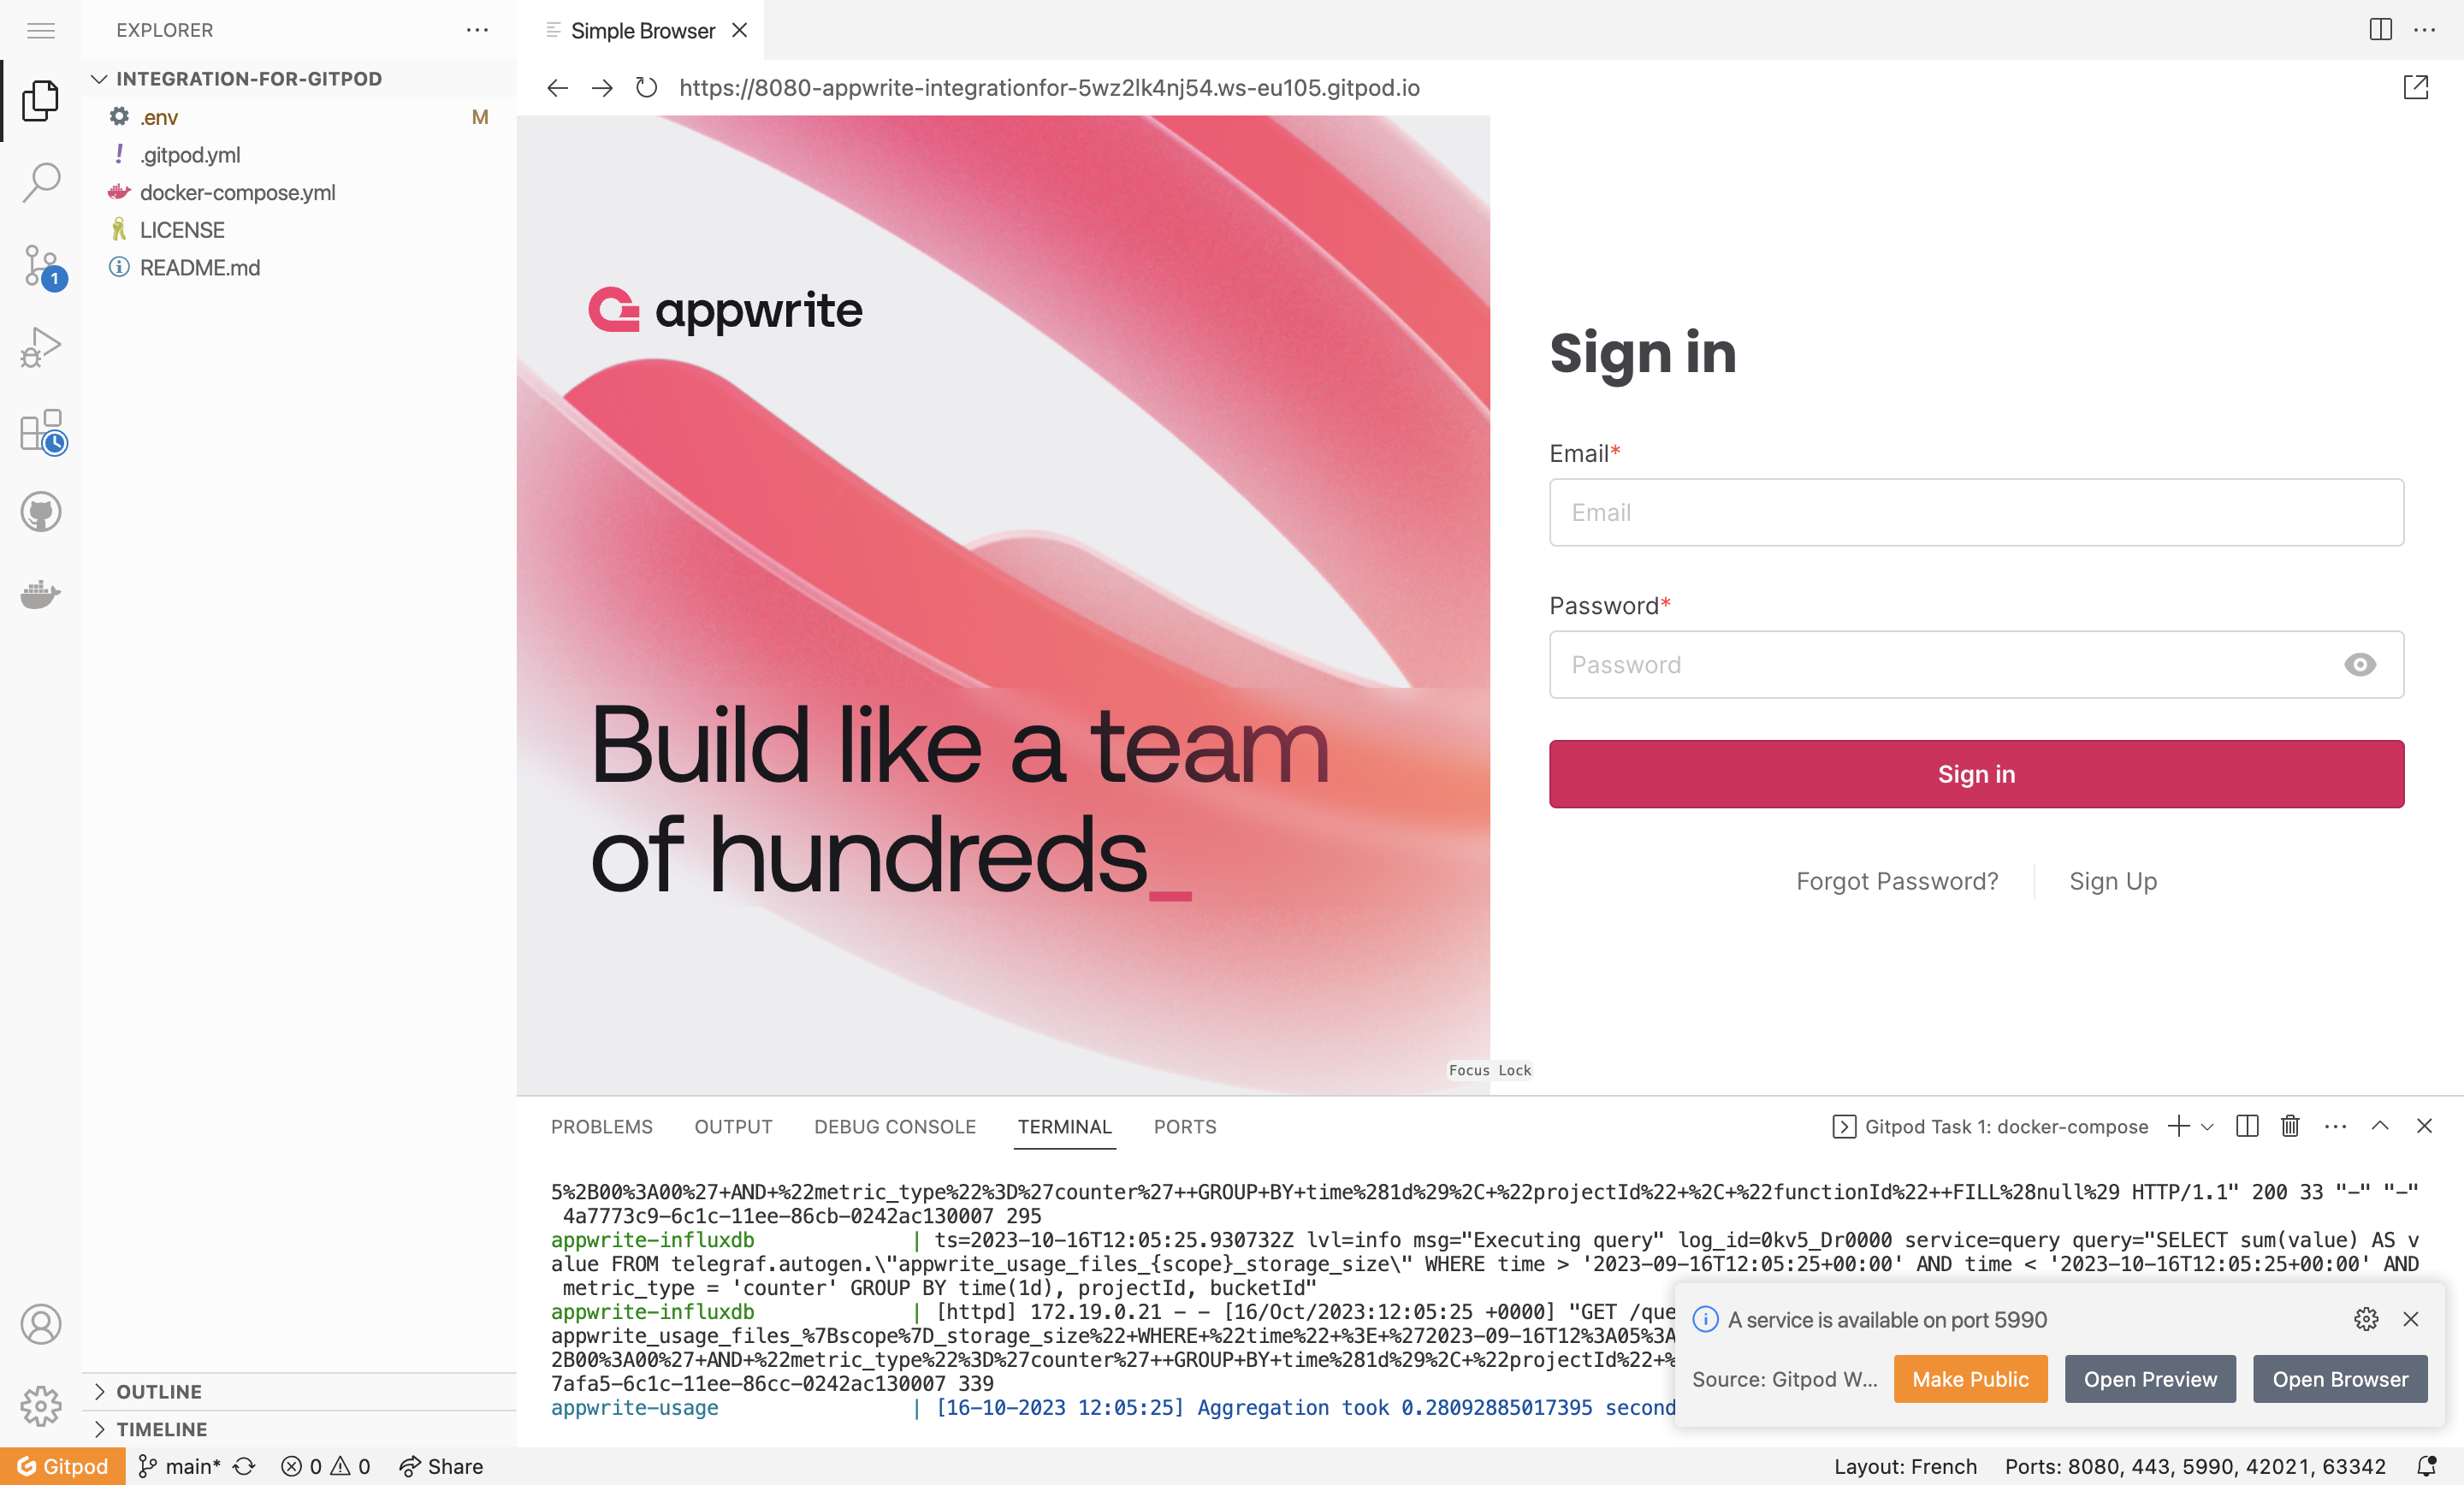
Step 3️⃣: Access the Appwrite Instance 🖥️
Once the instance is started, you should see your Gitpod instance. After a short wait, you should see an Appwrite homepage in a browser. You can now proceed to set up your Appwrite instance with your application by following the steps in the configuration from Appwrite Cloud, which will be the same